DO IT YOURSELF: The best DIYs for students

Written by Sabine Klug, Nov 24, 2021

Doing some of the things yourself has many advantages: You can customize the products to your liking. You know all of the ingredients. You can choose high quality ingredients. You reduce waste. You save money. You can be creative. That’s why we have put together some tips and inspirations for getting started!

Cutting your hair yourself

Cutting your hair can be a tricky topic. The level of difficulty mostly depends on whether you want to shorten your ends or do a completely new hairstyle. We spoke to a hairdresser and she gave us five basic tips:

  • Don’t get cocky! Stick to easy techniques!
  • Cut your hair while it is dry. This will give you a better idea of ​​what you are doing!
  • Never cut more than two centimeters!
  • Don’t make it too complicated: Do not try a completely new, complicated hairstyle on your own!
  • Only use hair-cutting scissors and no handicraft or nail scissors!

It’s easier for men. With a hair clipper, a short hairstyle is done in only a few minutes. The braver ones can of course also use the razor. By the way, there are numerous DIY instructions on the Internet. Just click through!

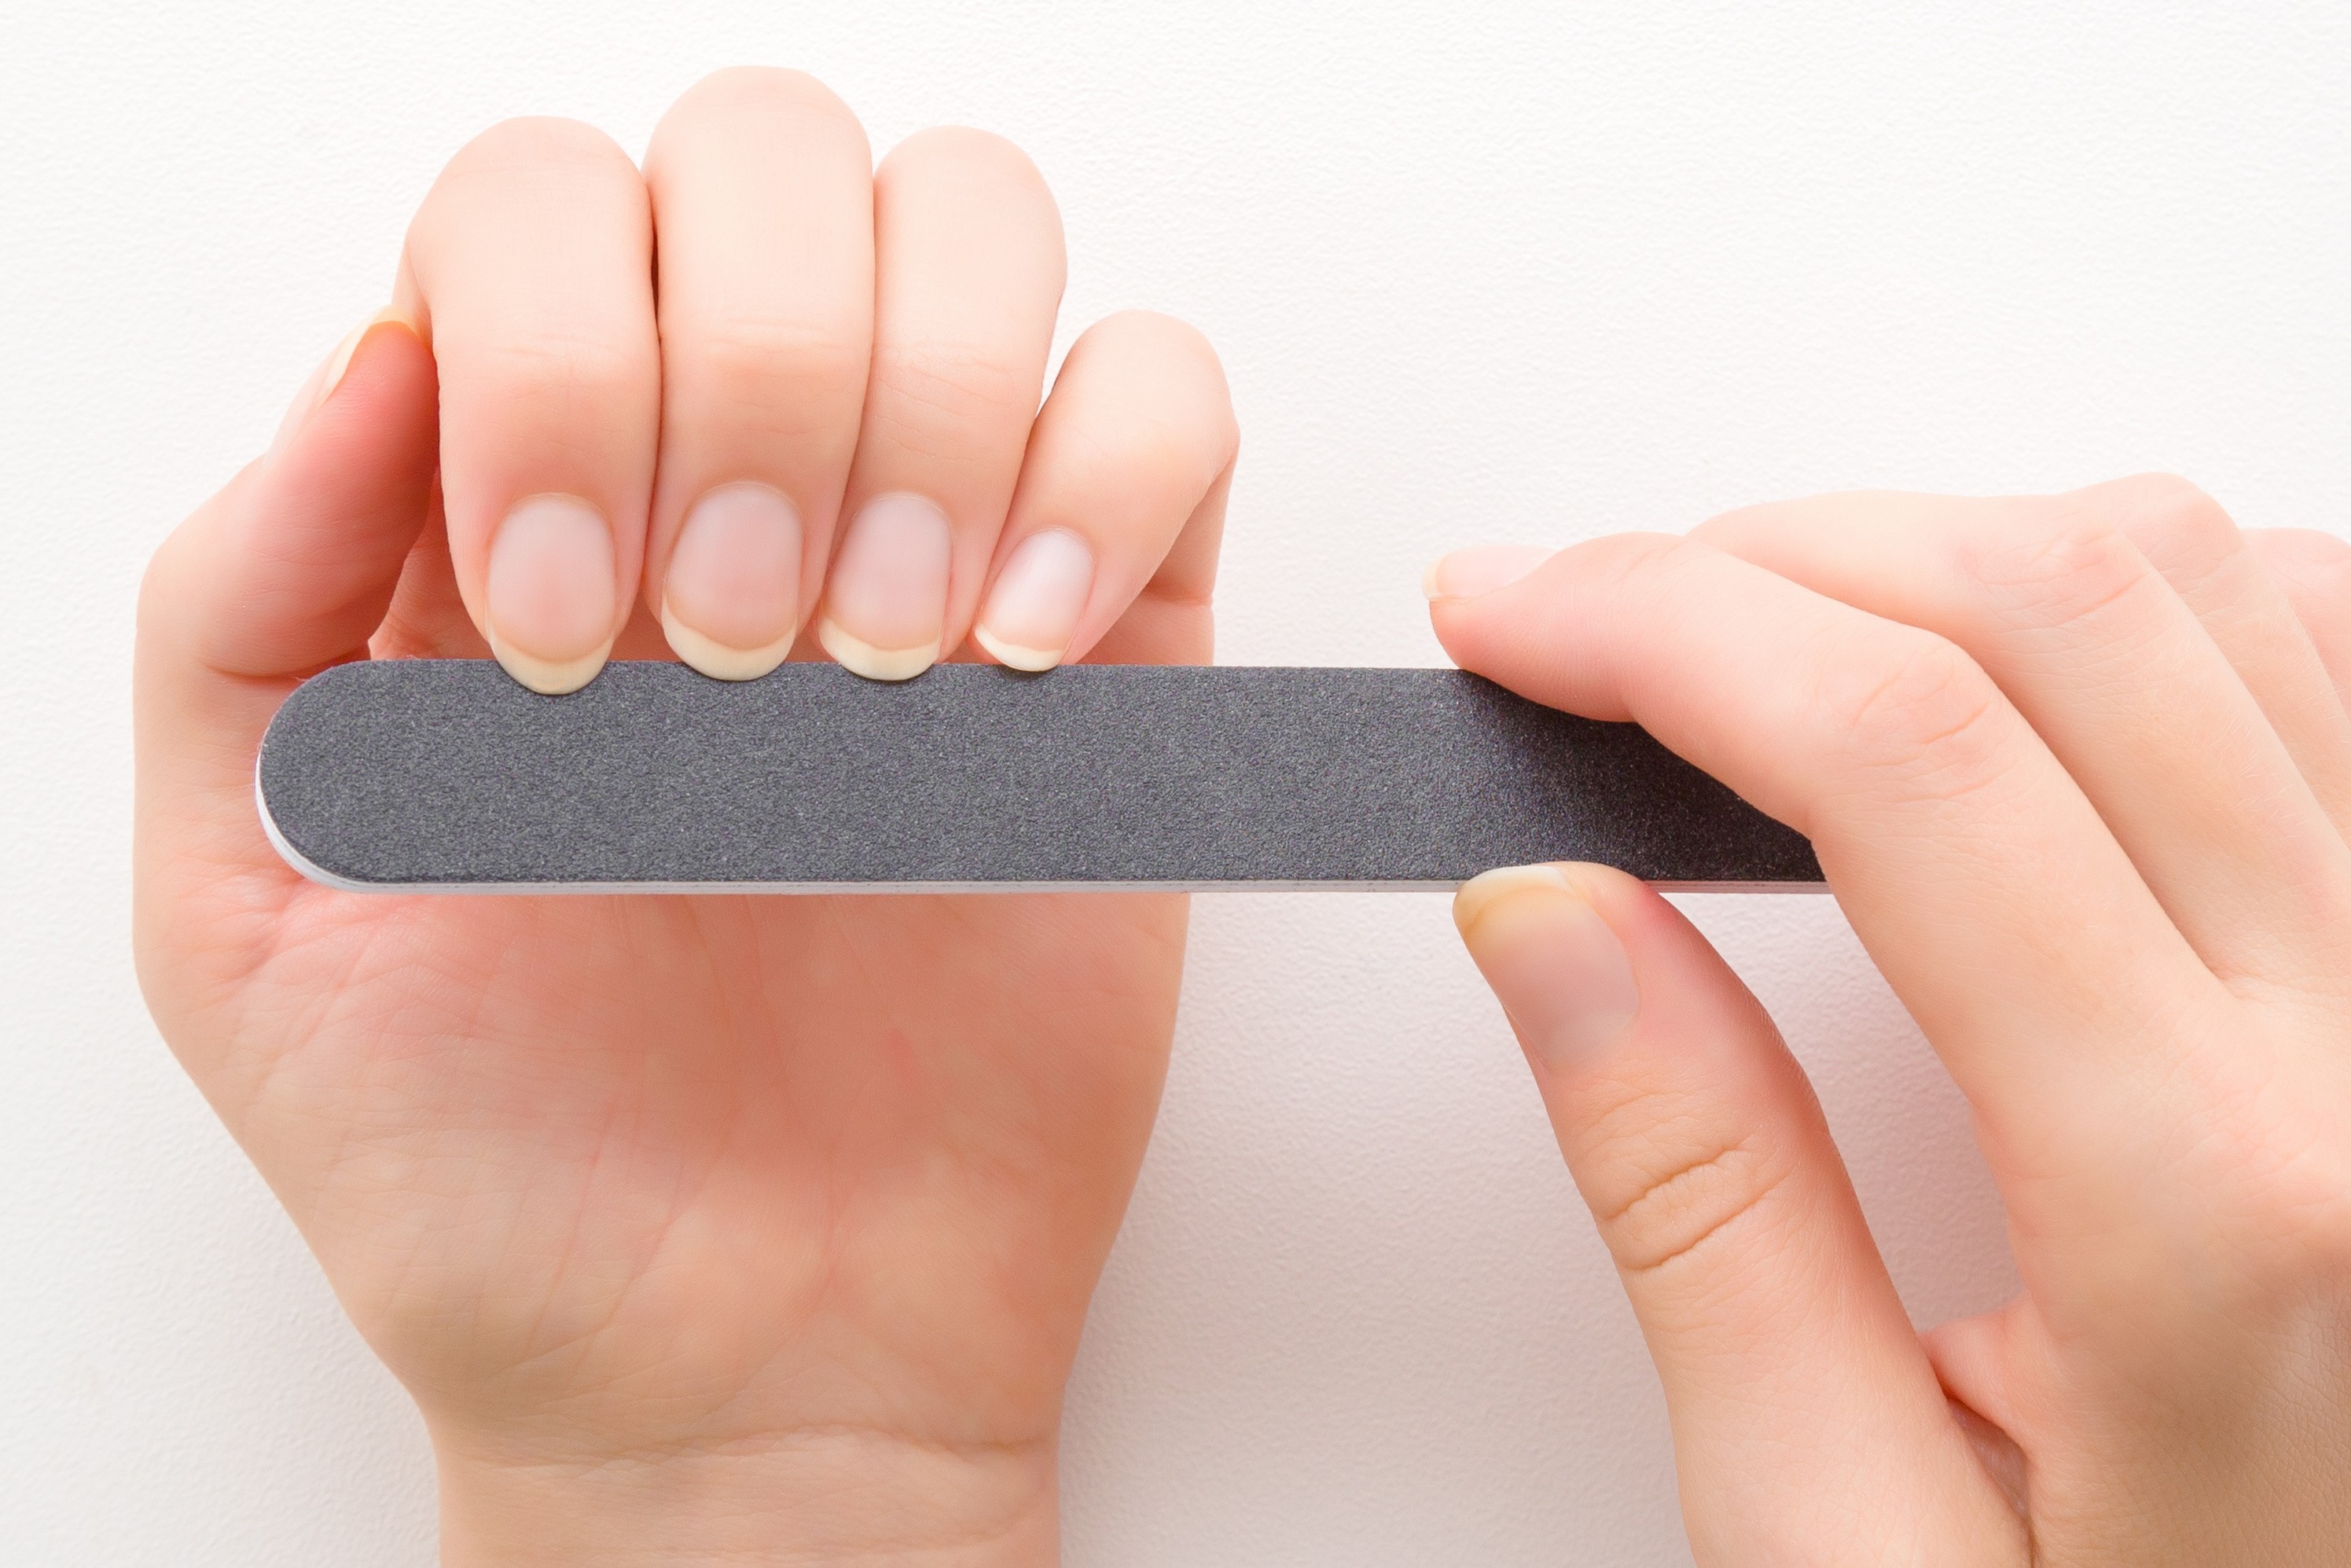
Acrylic nails: how to do your manicure at home

Your nail appointment was due a long time ago and now your acrylic nails are growing and growing? No problem! We also asked experts about this. Here are a few tips on how to get your fingernails back in good shape:

  • Before the nails break or tear painfully, you can shorten them with a file and lightly file the transitions off.
  • Use only acetone-free nail polish remover!
  • Be very careful with the nail bed. Injuries there are very painful and can easily get infected.
  • Don’t file too much on your natural nail. Be very careful and only file in one direction at a time.
  • Don’t apply gel you’ve bought yourself – you don’t know what material the nail designer used!
  • Seal everything with a clear coat.

A natural manicure is of course easier. With these simple steps, you can’t mess up:

  1. Take a hand bath: To soften the cuticles, dip your fingers in warm water for about one minute. Important: Do not dispose of the hand bath yet!
  2. Apply a cuticle cream or cuticle oil and massage it in well.
  3. Use an stick to push back the cuticles very carefully and remove them. Please be very careful! As already mentioned, injuries to the cuticle are painful!
  4. File your nails: It’s best to use a glass file and work carefully in one direction. This will give your nails the shape you want. Please note: the nail file is not a saw – treat your nails with care!
  5. Now put your fingers in the hand bath again to remove all dust and cuticle residues.
  6. Now dry your hands off well with a soft cloth.
  7. Use cuticle nippers to gently remove any residue.
  8. Apply a base coat and nail polish. Always let all layers dry thoroughly!
  9. Remove possible blunders: Use a nail polish remover pen or wrap a little cotton wool around an stick and dip it in nail polish remover.
  10. Put on a top coat!
  11. Use enough hand cream!

DIY hand sanitizer

We have listed the ingredients that you can use to easily make hand sanitizer yourself. It’s a quick and easy recipe with few ingredients. (Be careful when handling these ingredients.)

Here are the rounded quantities according to the WHO recipe for the production of approximately one liter of disinfectant:

  • 833 ml ethanol (96% vol.) – alternatively 752 ml isopropyl alcohol (99.8% vol.)
  • 42 ml hydrogen peroxide (3%)
  • 15 ml of glycerine
  • 110 ml of boiled or distilled water – 192 ml when using isopropyl alcohol
  • measuring cup with a capacity of one liter

In order to achieve the best possible disinfecting effect, your finished solution should contain about 80 percent (by volume) ethanol or 75 percent isopropyl alcohol. Put ethanol, hydrogen peroxide and glycerin in a bottle, add water and quickly seal everything. Then shake well and your hand sanitizer is ready!

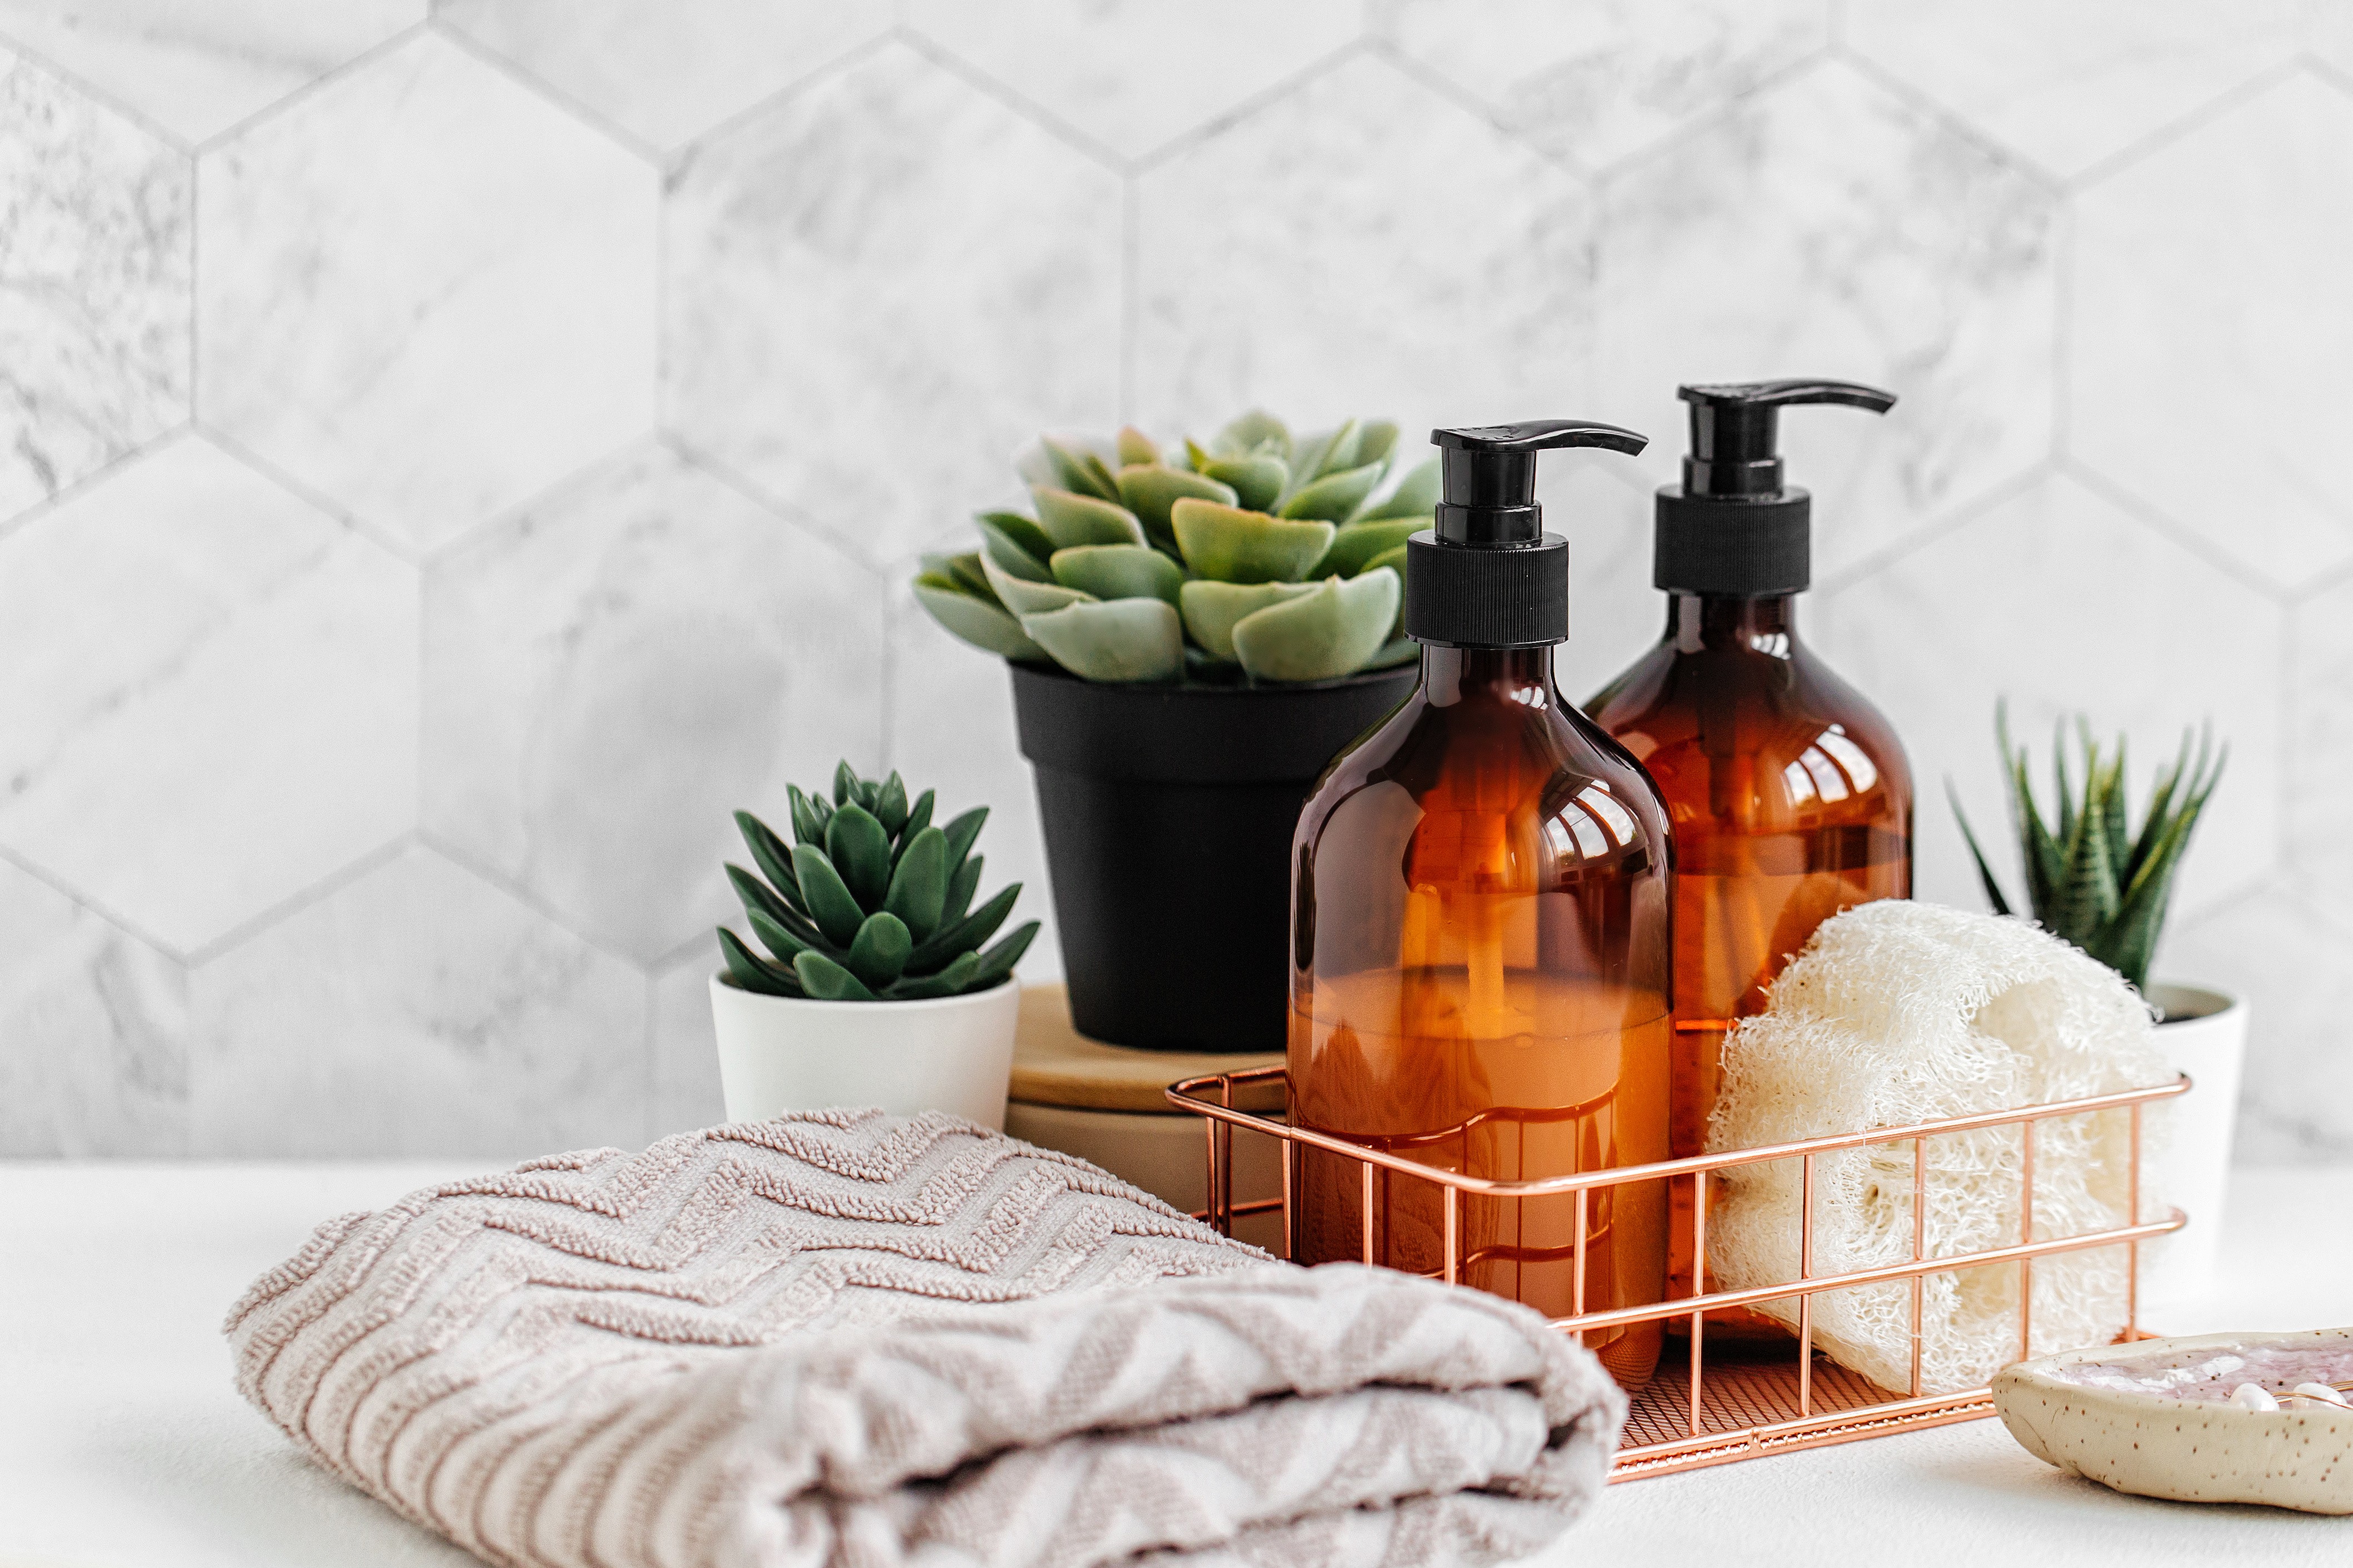
DIY shampoo

In fact, now is the perfect time to get rid of artificial shampoos and make your own shampoo at home. However, hair often holds on to habit. So, it will take you some time to get used to switching to a natural shampoo. If you keep your hair clean with only natural ingredients, it may look shaggy at first. But don’t give up: this will be over in about 14 days. Since not every scalp needs the same shampoo, you should try different variations. Here we have collected a few recipes for you:

DIY soap

You can make your own soap with your favorite fragrance. In addition, small, beautifully packaged soaps are perfect as little gifts for friends and family. There are a lot of different ways to make soap. We recommend an easy method that includes beeswax. The variant with a sodium hydroxide solution is much more complex. We have summarized a few recipes for you here:

DIY deodorant

Did you know that deodorant can be one of the most unhealthy skin care products in your bathroom? Have you ever read the ingredients list on your deodorant stick? No? Then you should definitely go and do it! Most of the time, more than 20 questionable and unhealthy substances are contained in such a small deodorant roller. All of these ingredients clog pores and make it difficult for the body to detoxify. Of course, there are very good organic alternatives on the market.

Here is an easy way to make your own deodorant from water, baking soda and cornstarch. You can then add various essential oils according to your personal preferences.

Do you prefer to use a deodorant cream? No problem either! Here is a simple guide with shea and cocoa butter. Heat up the ingredients and then pour them into small baking molds. In addition, you already have another nice gift for your friends.

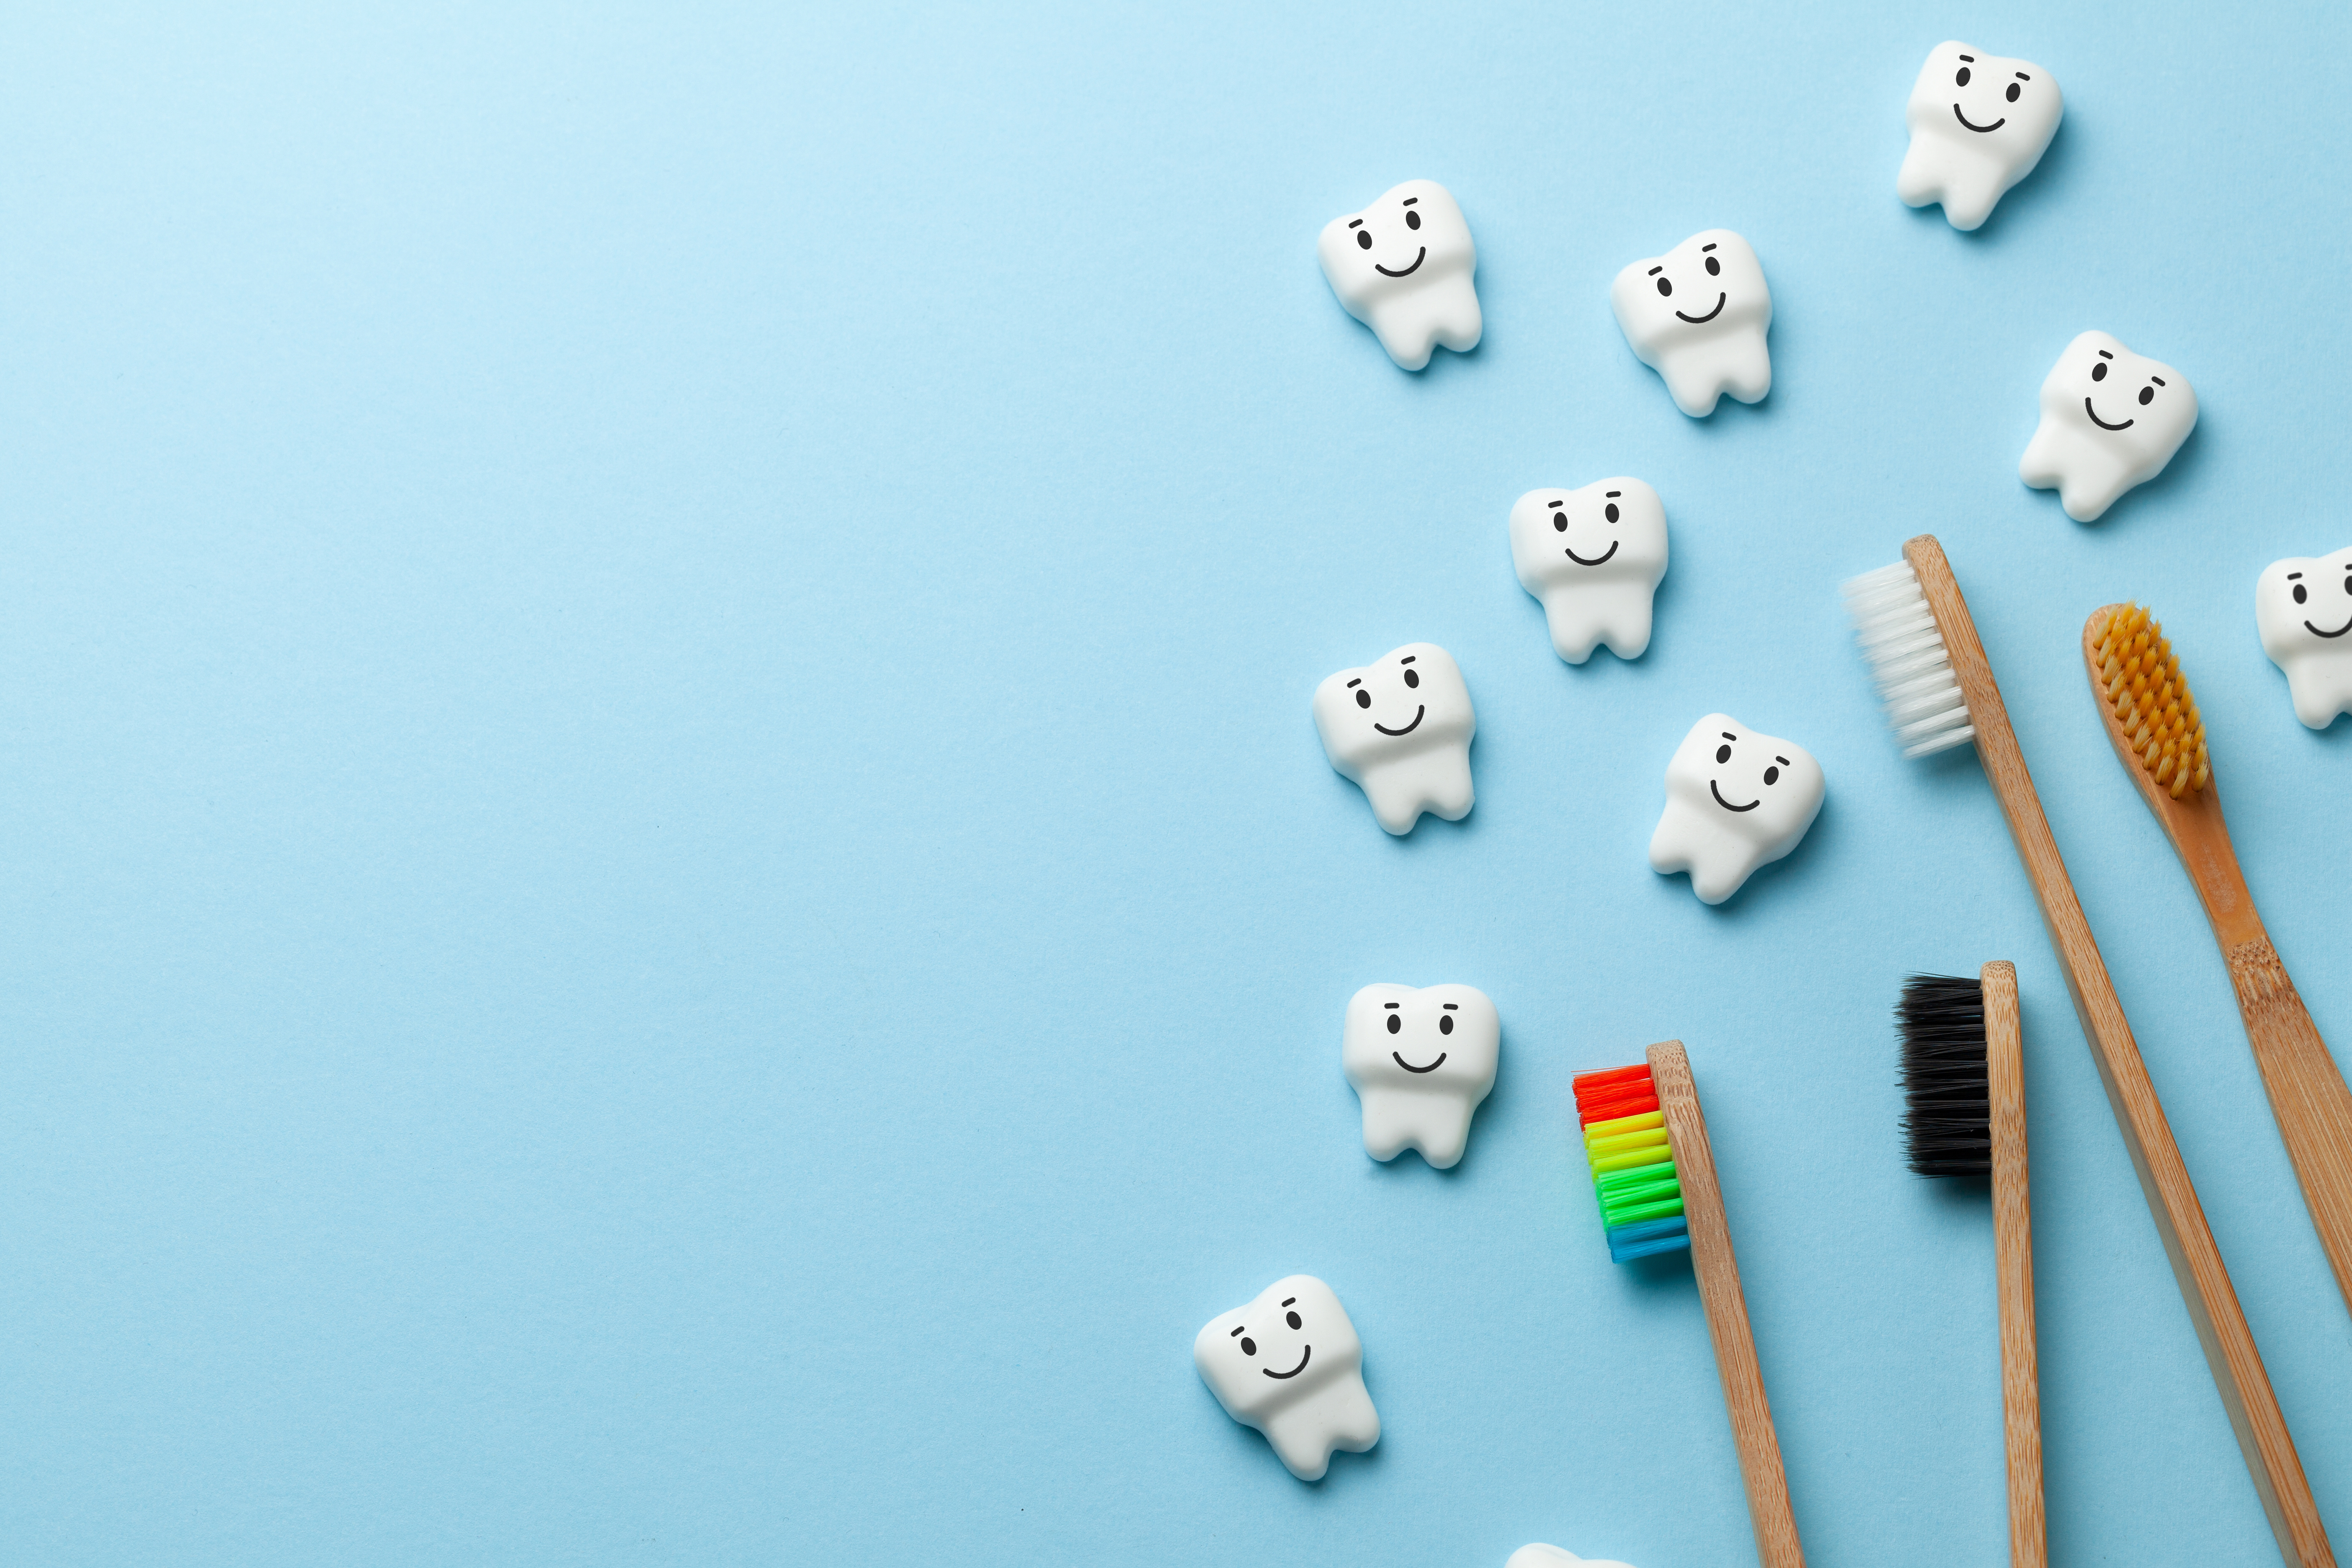
DIY toothpaste and mouthwash

Making toothpaste and mouthwash yourself sounds like a lot of work at first. However, it is actually really simple. Homemade toothpaste has another advantage: You avoid micro plastics, which are traditionally used in toothpaste as a cleaning agent. Allegedly, you could just as easily do without fluoride and sodium lauryl sulfate and reduce all the packaging waste.

We have selected two simple recipes for you, which are really easy to make since you only have to mix all the ingredients together:

Version 1

Version 2

  • 10 g birch sugar
  • 5 g baking soda
  • 1 tbsp organic coconut oil
  • 1 drop of organic peppermint essential oil
  •  1 tbsp organic coconut oil
  •  1 tbsp healing earth
  •  1-2 drops of organic peppermint essential oil

It’s best to keep the toothpaste in a small glass jar. At first, the cream may take a bit of getting used to because it does not foam. Nevertheless, it is anti-inflammatory, prevents caries, has a bleaching effect and cleanses very well.

You can also easily replace your mouthwash with a homemade alternative. You can find the DIY mouthwash here.

DIY Lip balm

Most lip care products contain mineral oils – and we don’t like them at all! You can make your own easy and cheap lip balm according to your preferences:

Preserve food

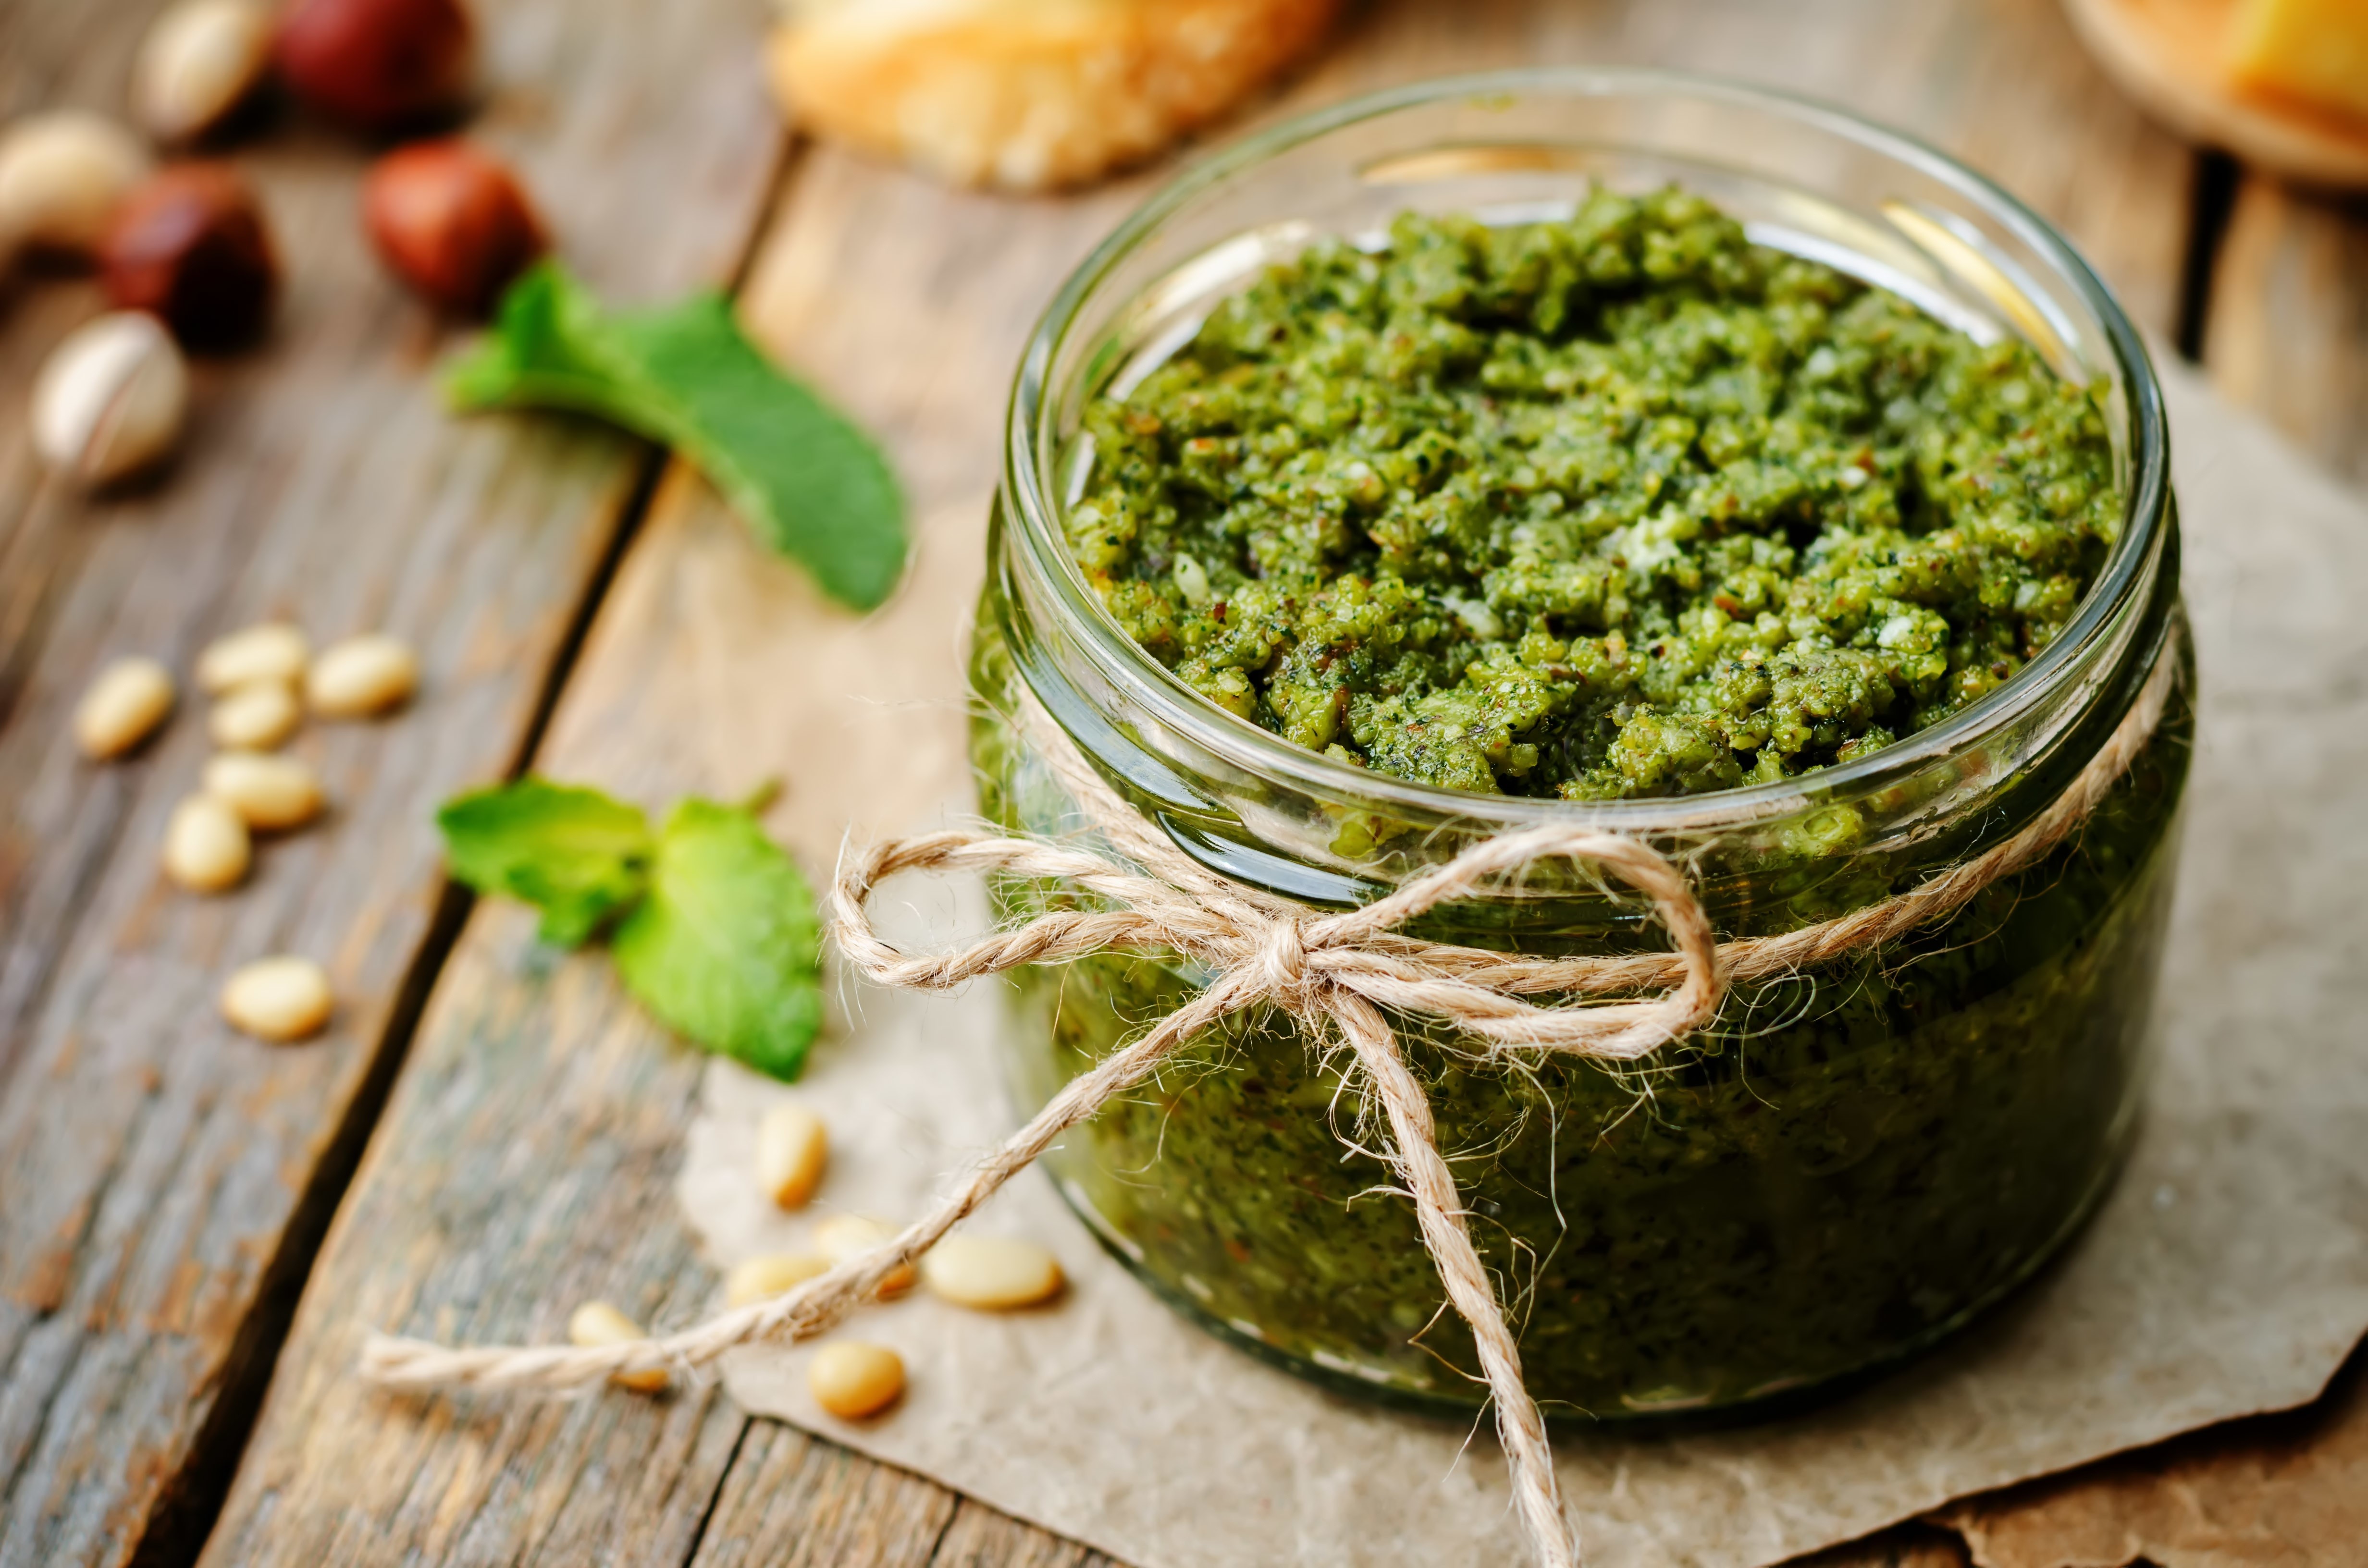
Have you ever made pasta sauce, jam or pesto yourself? First of all, food needs to be handled carefully. Firstly, plan which foods you will need. Alternatively, you can make your food last longer yourself. Don’t worry, we’re not starting to pickle meat now. However, it is not difficult to boil down and pickle a few other things. Try it yourself!

We have selected a few nice and simple recipes with which you can make your own delicacies:

And last but not least, we have something for those with a sweet tooth. Have you ever tried to make Nutella yourself? There are many recipes for the perfect chocolate spread on the Internet. We have picked out two for you:

DIYs are not only very practical and usually eco-friendly, but it’s also a lot of fun. It’s the perfect activity for a rainy Sunday afternoon. In addition, you also reduce waste and save money!

We hope you enjoy trying out our recipes and start experimenting with these DIY instructions!

Questions?

We are happy to help!